# Defining Columns
## Content
With automatic column generation as one of the default features of FlexGrid, the control lets you specify the columns, allowing you to choose which columns to show, and in what order. This gives you control over each column's width, heading, formatting, alignment, and other properties. To define columns for the FlexGrid, ensure that the [AutoGenerateColumns](/componentone/api/xamarin/online-forms/dotnet-api/C1.Xamarin.Forms.Grid/C1.Xamarin.Forms.Grid.FlexGrid.AutoGenerateColumns.html) is set to **false** (by default this property is **true**).
The image below shows how the FlexGrid appears, after defining columns.
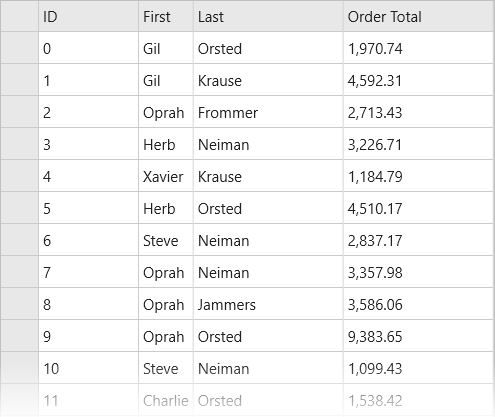
The following code example demonstrates how to define FlexGrid columns in C# and XAML. The example uses the sample created in the [Quick start](/componentone/docs/xamarin/online-forms/controls/OverviewFlexGrid/flexGridQuickStart) section.
1. Add the following code to the MainPage.xaml page for defining columns in the FlexGrid.
```xml
```
2. Open MainPage.xaml.cs and add the following code to display data in the FlexGrid control.
```csharp
var data = Customer.GetCustomerList(100);
grid.ItemsSource = data;
```