# Quick Start
## Content
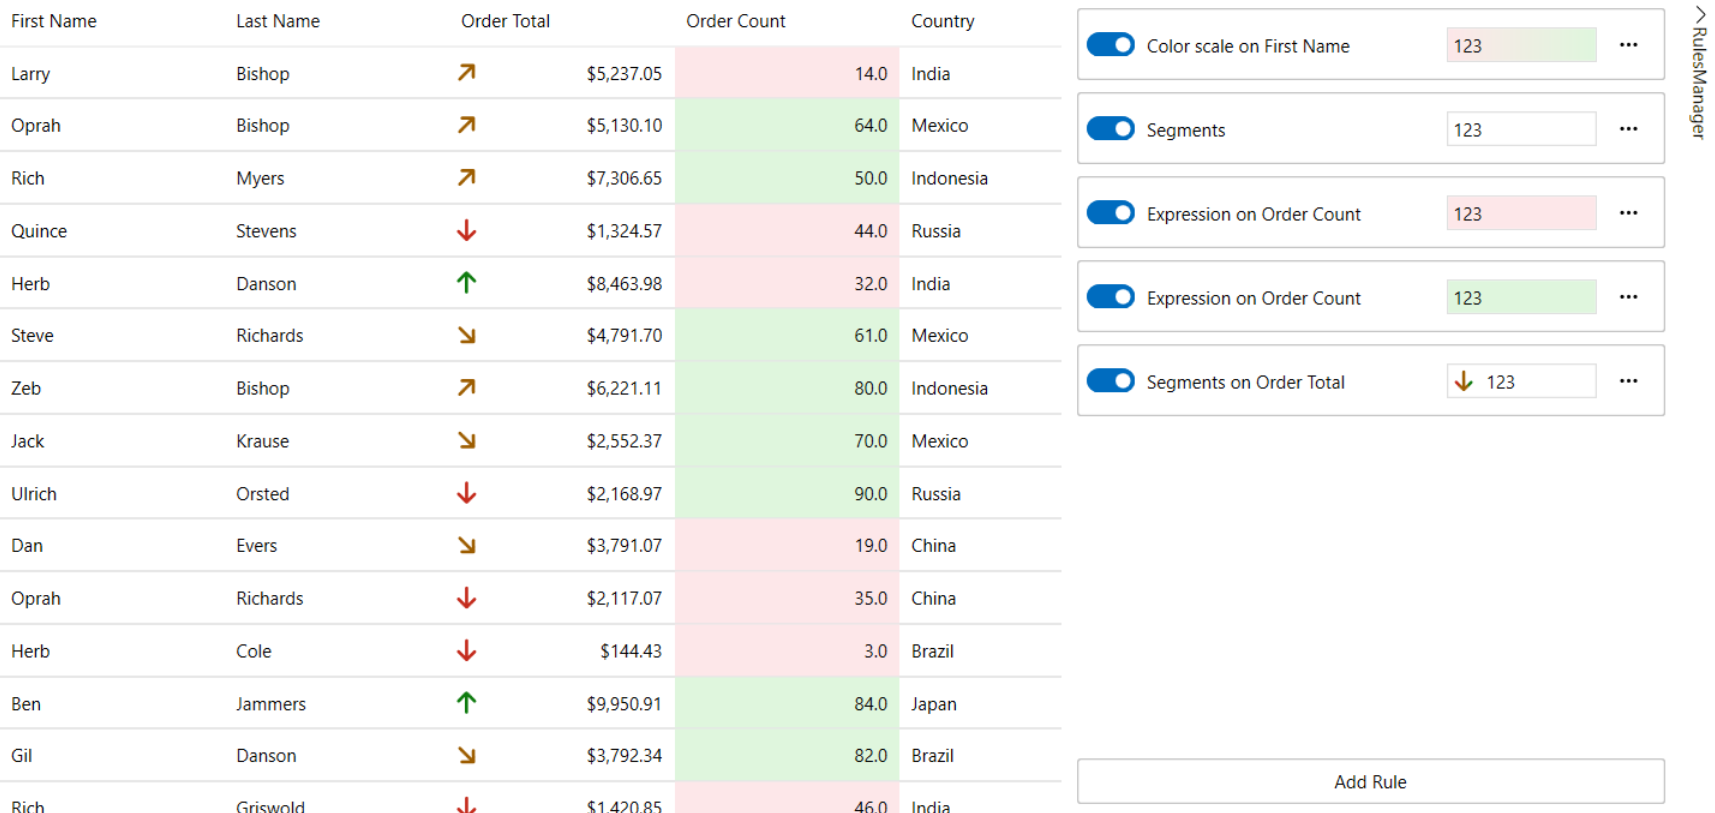
This quick start guide outlines the steps for integrating **Rules Manager** with the **FlexGrid** control and applying conditional formatting to the grid data.
Users can achieve the desired output either through the design view or code view.
### Prerequisites
### NuGet Packages
* C1.WPF.Grid
* C1.WPF.Grid.ConditionalFormatting
* C1.WPF.RulesManager
### Create a New Project
1. Open Visual Studio and create a new WPF application
2. Open the NuGet Package Manager
>type=info
> Tools > NuGet Package Manager > Manage NuGet Packages for Solution
3. Search **C1.WPF.Grid**, **C1.WPF.RulesManager** and **C1.WPF.ConditionalFormatting** and install the packages
### Add FlexGrid and Rules Manager
1. Search **Flexgrid**, **C1Expander** and **C1RulesManager** from the Toolbox
2. Drag and drop the **FlexGrid**, **C1Expander** and **C1RulesManager** onto the form
3. Bind data using [FlexGrid QuickStart](https://developer.mescius.com/componentone/docs/wpf/online-flexgrid/FlexGridQuickStart.html#i-heading-bind-flexgrid-with-data-0)
### Integrate in Designer
1. Click the **smart tag** of **FlexGrid** and click **Add Behavior**
2. Select **Conditional Formatting Behavior** from the drop-down menu and click **Add Behavior**
* Upon adding the **Conditional Formatting Behavior**, the code will look like the following
```xml
```
3. Right click on the form and select **properties** from the context menu
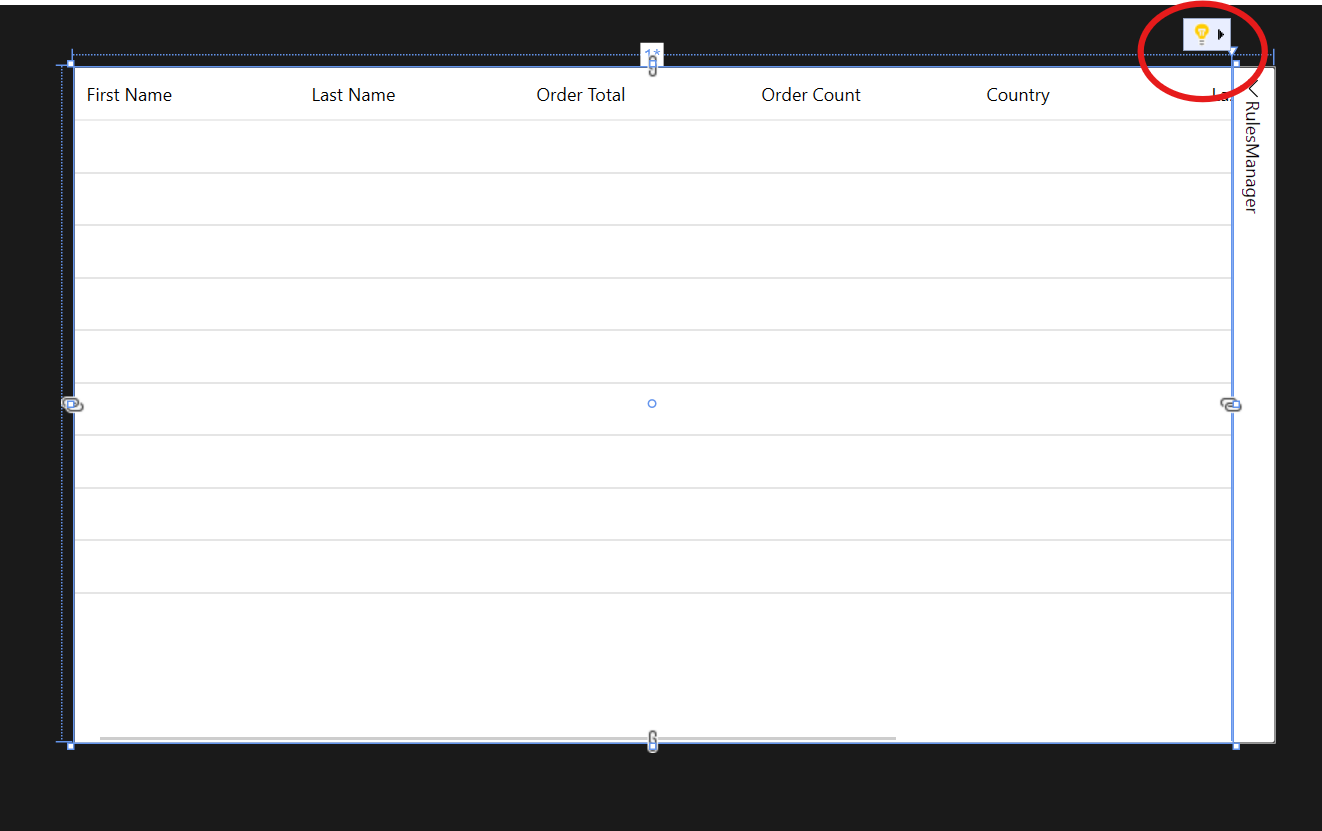
4. Click on the **``** code to view rules engine from the **properties** window
5. Click on the **New** button to add **C1RulesEngine**
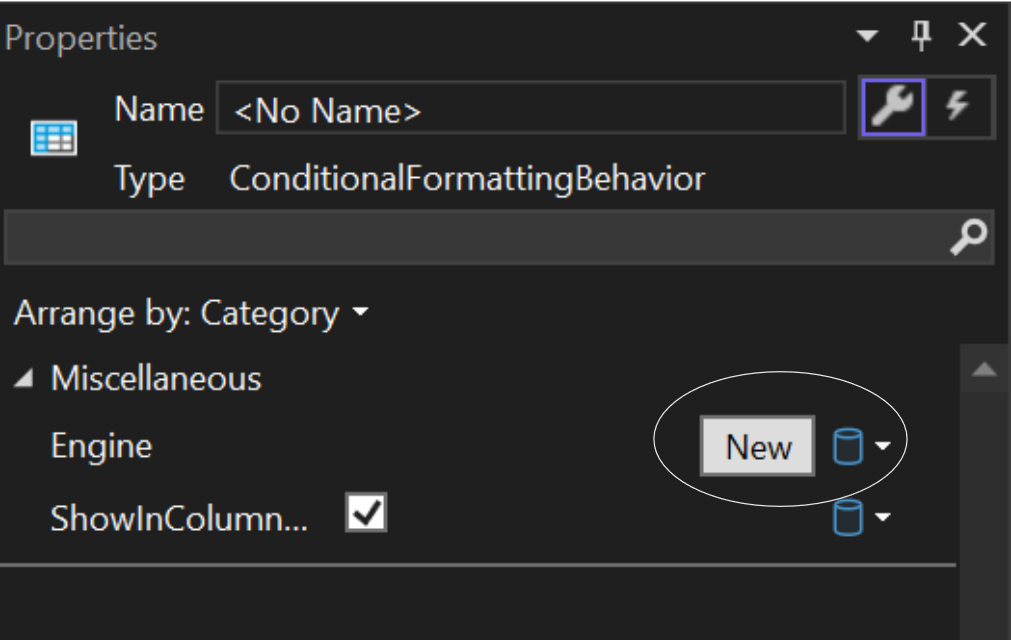
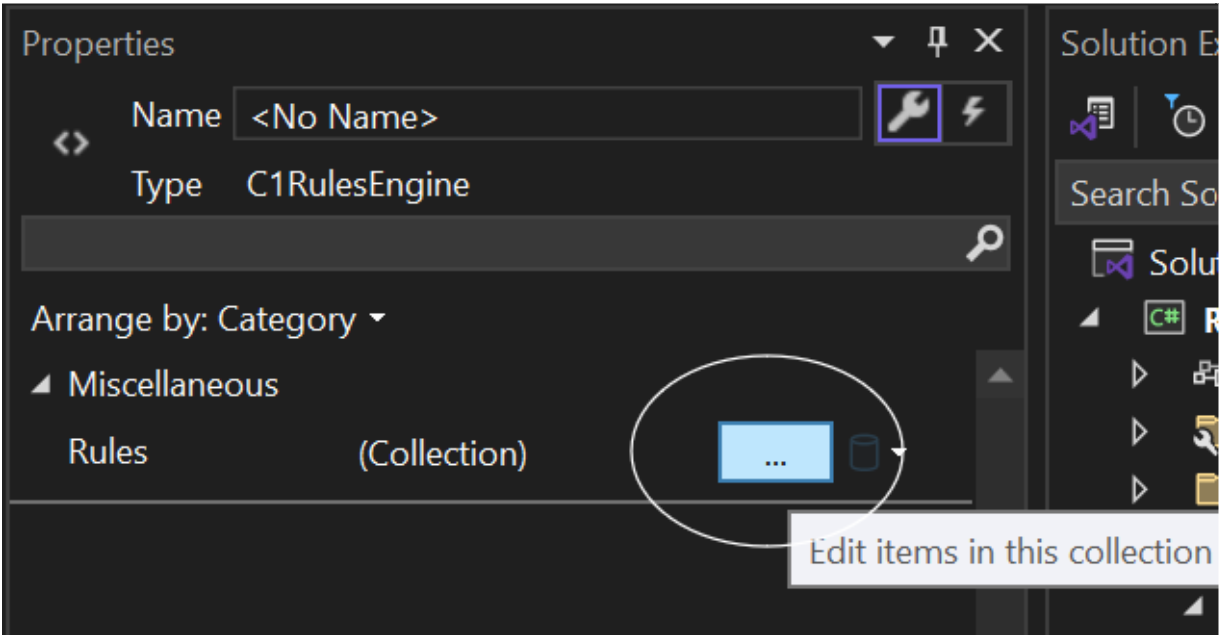
6. Click on the ellipsis in the **properties** window of **C1RulesEngine** to open the **Rules Collection Editor**
7. Select any rule from the **Rules Collection Editor** window and click **Add** 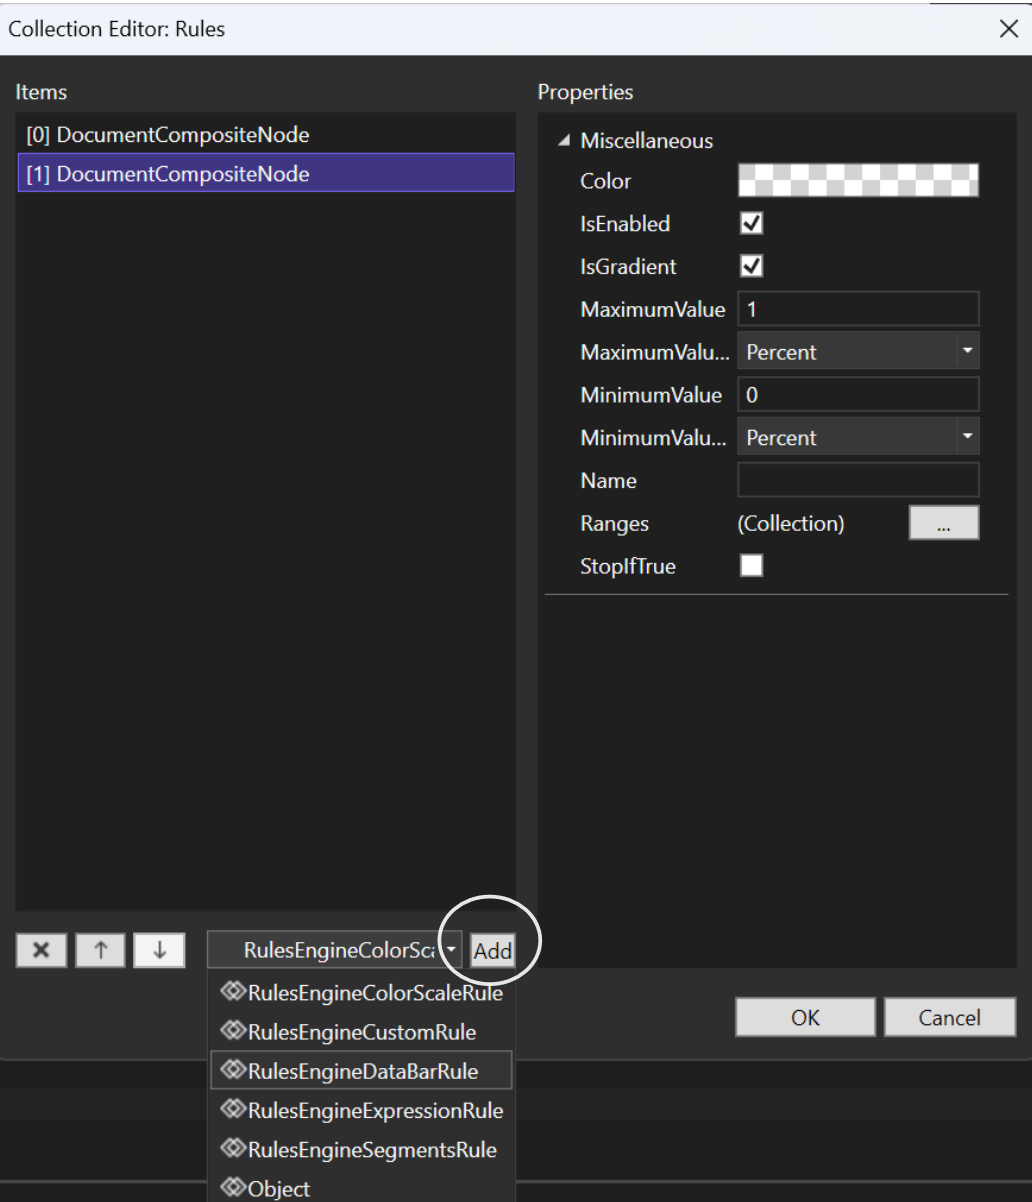
8. Edit the rules in the **properties** window of the **Rules Collection Editor**
9. Click **OK** to add the rules. In the example below, color scale rule and data bar rule has been added through the **Rules Collection Editor**, hence it gets reflected on the code
### Integrate through Code
1. Define the **Interaction.Behaviors** tag using the following code. This applies conditional formatting to **FlexGrid** upon binding it with **Rules Manager**
```xml
```
2. **Add C1Expander** to wrap the **Rules Manager** and make it collapsible using the following code
```xml
```
3. Define the **C1RulesEngine** inside **C1RulesManager**
```xml
```
4. Define the rules using **C1RulesEngine**
```xml
```
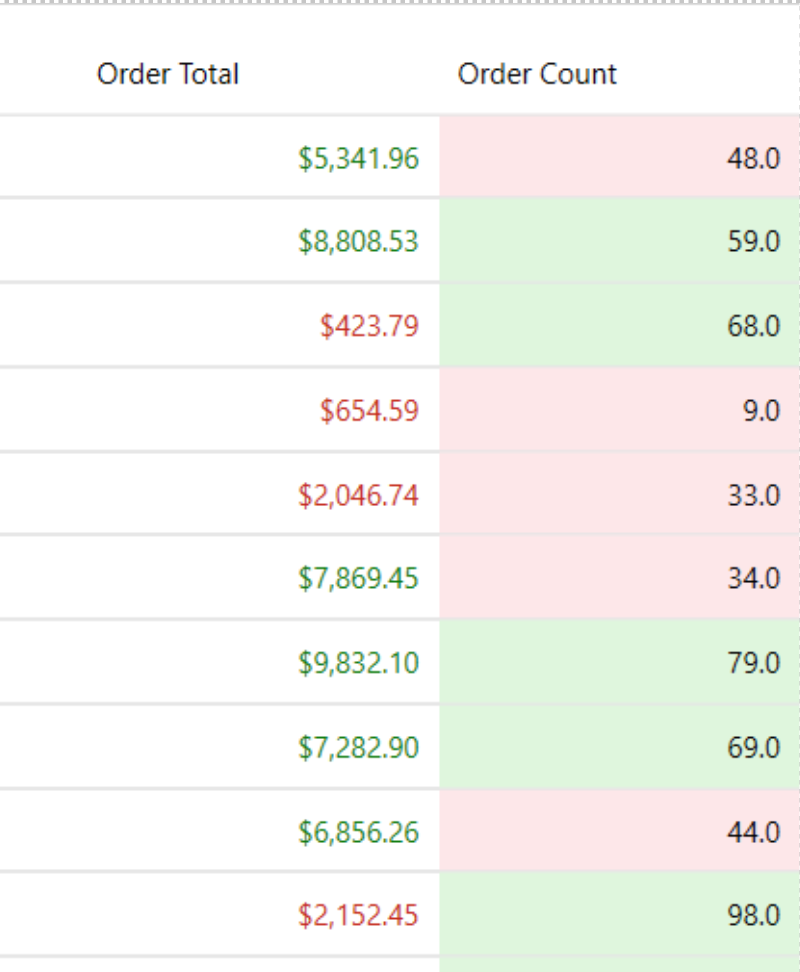
In the example above, the **C1Expander** containing **C1RulesManager** applies conditional formatting to the **FlexGrid**. It uses **C1RulesEnginge** to style the grid cells based on the conditional formatting that is: rows with **OrderCount** less than 50 get a light red backcolor while those that are more or equal to 50 get light green color. For **OrderTotal** values that are less than 5000 gets a dark red forecolor while those that are greater than or equal to 5000 gets dark green color. Additionally, a **Custom Rule** is defined to style the **FirstName** column using a user-defined function. This setup helps visually highlight important data patterns for easier analysis.