# Quick Start
## Content
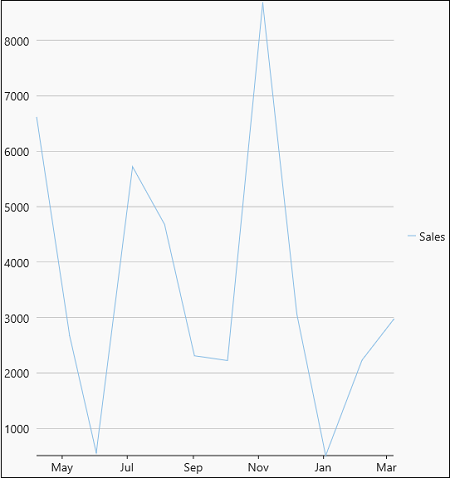
The following quick start guide is intended to get you up and running with the FlexChart control. In this quick start, you start by creating a new WinUI application, add the FlexChart control to it, and bind it with a datasource. The following image displays the FlexChart control showing the sales details of products.
## Create a WinUI Application and Add References
1. In Visual Studio, create a new WinUI App. For detailed steps, see [Configure WinUI Application](/componentone/docs/winui/online-winui/configuring-winui-app).
2. In the **Solution Explorer**, right click **Dependencies** and select **Manage NuGet Packages**.
3. In **NuGet Package Manager**, select **nuget.org** as the **Package source**.
4. Search and select the following package and click **Install**.
* **C1.WinUI.Chart**
## Configure the FlexChart control
1. Declare the namespace using the following code in XAML:
```xml
xmlns:c1="using:C1.WinUI.Chart"
```
2\. Place the cursor between the \\ tag to add the FlexChart control using the following code:
```xml
```
3. Switch from XAML to C# code view and bind the FlexChart control to a datasource using the [ItemsSource](/componentone/api/winui/online-winui/dotnet-api/C1.WinUI.Chart/C1.WinUI.Chart.FlexChartBase.ItemsSource.html) property. Here, we use the **DataService** class as a data source.
```csharp
flexChart.ItemsSource = DataService.GetProductRevenue();
```
## Build and Run the Project
1. Click **Build \| Build Solution** to build the project.
2. Press **F5** to run the project.