# Quick Start
## Content
The following quick start guide is intended to get you up and running with the Calendar control. In this quick start, you'll start with creating a new WinUI application, add the Calendar control to it, and display the selected date in the calendar.
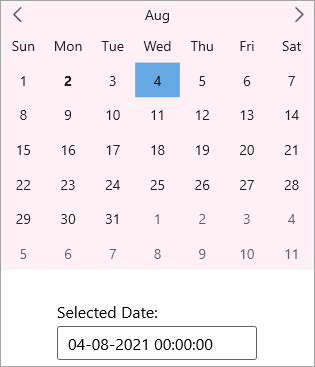
The following image displays the selected date in the Calendar control and the TextBox control.
## Create a WinUI Application and add References
1. In Visual Studio, create a new WinUI App. For detailed steps, see [Configure WinUI Application](/componentone/docs/winui/online-winui/configuring-winui-app).
2. In the **Solution Explorer**, right click **Dependencies** and select **Manage NuGet Packages**.
3. In **NuGet Package Manager**, select **nuget.org** as the **Package source**.
4. Search and select the following package and click **Install**.
* **C1.WinUI.Calendar**
* **C1.WinUI.Core**
## Configure the Calendar control
1. Declare the namespace using the following code in XAML:
```xml
xmlns:c1 ="using:C1.WinUI.Calendar"
```
2. Place the cursor between the \\ tag to add the Calendar and TextBox controls and add background color to the Calendar control using the following code:
```xml
```
As you can observe from the code, the **Text** property of TextBox control is data-bound to the [SelectedDate](/componentone/api/winui/online-winui/dotnet-api/C1.WinUI.Calendar/C1.WinUI.Calendar.C1Calendar.SelectedDate.html) property of the Calendar control. So, when you select a date from the Calendar control, the currently selected date appears in the Textbox control.
## Build and Run the Project
1. Click **Build | Build Solution** to build the project.
2. Press **F5** to run the project.