# Step 1 of 4: Creating a C1TaskbarButton Application
## Content
In this step you'll create a simple WinForms application and add the [C1TaskbarButton](/componentone/api/win/online-winpack/dotnet-framework-api/C1.Win.C1Win7Pack.4.8/C1.Win.C1Win7Pack.C1TaskbarButton.html) component to the application.
To begin, complete the following steps:
1. From the **File** menu in Microsoft Visual Studio, select **New** and click **Project**. The **New Project** dialog box opens.
2. Under **Project Types**, choose either **Visual Basic Projects** or **Visual C# Projects**, and select **Windows Application** from the list of **Templates** in the right pane.
3. Enter or browse for a location for your application in the **Location** field and click **OK**.
A new WinForms project is created in the specified location. In addition, a new form is displayed in the Designer view.
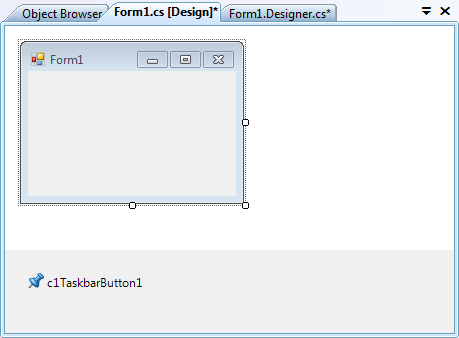
4. Navigate to the Toolbox and double-click the [C1TaskbarButton](/componentone/api/win/online-winpack/dotnet-framework-api/C1.Win.C1Win7Pack.4.8/C1.Win.C1Win7Pack.C1TaskbarButton.html) item to add it to the application. The C1TaskbarButton component will appear in the component tray below the form.
### What You've Accomplished
In this step, you created a new application and added the **C1TaskbarButton** control to the application. The project should appear as follows: