# Creating a Custom Theme
The topic covers creating a custom theme in Themes control.
## Content
This QuickStart guide will walk you through creating a new theme based on a built-in theme template using the C1ThemeDesigner. The topic comprises of two steps:
* [Step 1: Create a new theme in ThemeDesigner](/componentone/docs/win/online-themes/QSCreatingaCustomTheme#step-1-create-a-new-theme-in-themedesigner)
* [Step 2: Using Theme in Visual Studio](https://docapp.mescius.io/componentone/docs/win/online-themes/QSCreatingaCustomTheme#step-2-using-theme-in-visual-studio)
### Step 1: Create a new theme in ThemeDesigner
In this step, you will create a new theme based on the Standard built-in theme template. For more information, see [C1ThemeDesigner Application Overview](/componentone/docs/win/online-themes/ThemeDesignerAppOverView).
1. Double-click on the C1ThemeDesigner from the **C:\\Program Files (x86)\\ComponentOne\\Apps\\v4.0** folder.
2. Click on **Create New Theme** from the Topic Bar. The **New Theme** dialog box appears.
3. Select the Standard built-in theme template and enter BlueandPink for the theme Name and Click **OK.**
4. Select **Control Text** from the BaseThemeProperties in the Theme tree.
5. Click on the Control Text dropdown arrow and click the **Custom** tab.
6. Set the **BackColor** to **151; 45; 85**.
7. Click on the dropdown arrow next to **Window Text** and select the **Reference** tab.
8. Select the **Control Text** in the Reference tab.
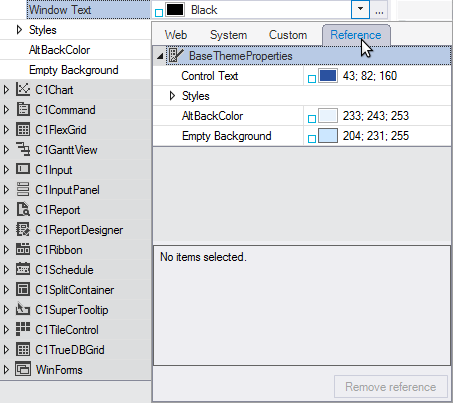
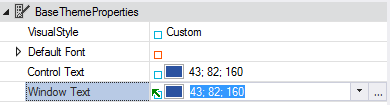
Notice the icon appears as a visual indicator that the **Window Text** property is referenced from the BaseThemeProperties **Control Text**.
9. Expand **C1Command\| C1MainMenu\| \| Bar\| BackColor**.
10. Click on the **BackColor** dropdown arrow and select the **Custom** tab.
11. Select the Light pink so the numbers appear as **255; 231; 242**. Notice the new settings appear in the Preview pane.
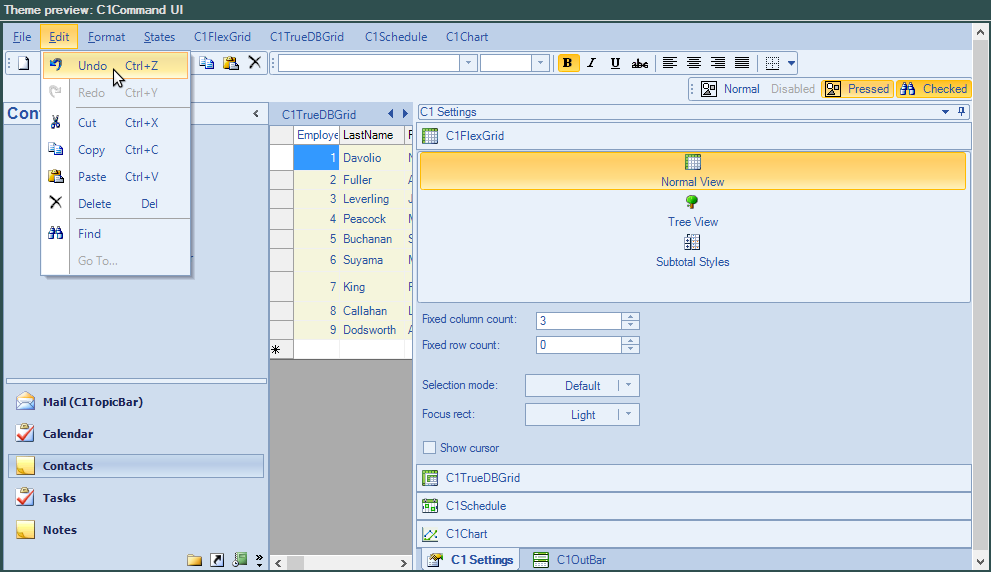
12. Select **File \| Save As** from the **File** menu to save the current theme in .c1themez file format. For example, **BlueandPink**. The new location appears at the top of the C1Theme Designer.
### Step 2: Using Theme in Visual Studio
1. Open a form belonging to your application in the Visual Studio's forms designer. In this example we will open a ComponentOne WinForms sample, **SimpleTextEditor2.**
2. Add the **C1ThemeController** from the toolbox onto your form. Make sure to provide reference to C1.C1Zip.4.dll in your project.
3. Click on the C1ThemeController component's **Add theme...** action item. This will show a file open dialog.
4. Browse and select the theme file (.c1themez) and click **OK**. The selected theme will be added to your C# or VB project as an embedded resource in a **Themes** folder, and will be available for selection from the themes list provided by the C1ThemeController.
5. Run and observe your changes.