Step 2 of 4: Creating a Vista-style C1SuperTooltip for a Control
In This Topic
Next, create a Microsoft Vista-style C1SuperTooltip using the Office tab in the C1SuperTooltip Editor. To do this, complete the following steps:
- Double-click the C1SuperTooltip control in the Toolbox to add it to your form.
- First, we will add an image to the ToolTip's image collection. We are using a small Help graphic to be used as the Subimage in our ToolTip.
- Select C1SuperTooltip1 and click the ellipsis button next to the Images property in the Properties window. The Edit Image Collection editor appears.
- Click the Add button, and find and select the desired image file.
- Once the image is added to the collection, click OK. We will specify this image in the ToolTip a little later.
- Right-click the Button1 control and select Properties to view the Properties window.
- Click the ellipsis button next to the ToolTip on C1SuperTooltip1 property and the C1SuperTooltip Editor appears.
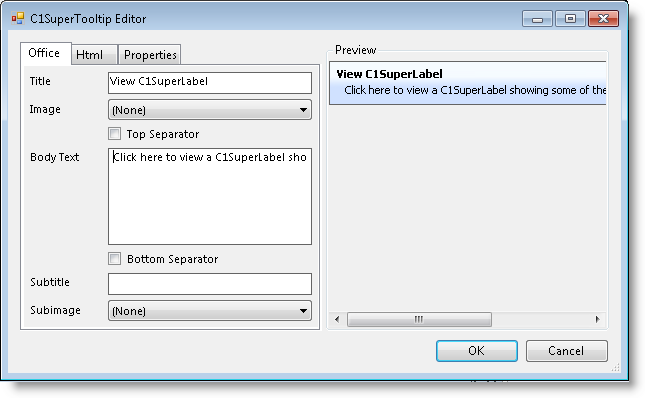
- On the Office tab, enter View C1SuperLabel in the Title text box.
- Enter the following text in the Body Text text box:
Click here to view a C1SuperLabel showing some of the cool features of C1SuperTooltip.Notice a preview of the C1SuperTooltip appears in the Preview window.
- To make the ToolTip appear on multiple lines, place the cursor after the word showing in the Body Text and press ENTER.
- You can also format the body text from within the Office tab. Select and right-click C1SuperLabel, and then choose Bold from the context menu or click Ctrl+B on the keyboard. Do the same for C1SuperTooltip.
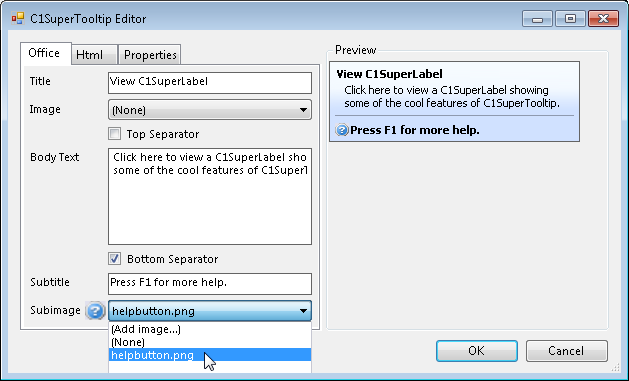
- Check the Bottom Separator check box.
- Enter the following text in the Subtitle text box:
Press F1 for more help.
- Click the Subimage drop-down arrow and select the image you added to the collection in the previous step 2.
Note that C1SuperTooltip automatically creates the HTML used to format your ToolTip so you don't have to. To view the HTML code, click the Html tab. We will create a ToolTip using only HTML code in the Creating a C1SuperTooltip with HTML Code topic of this quick start.
- Click the Properties tab in the editor.
- Click the drop-down arrow next to the BackgroundGradient property and choose Vista. The background and layout of the ToolTip now have the Microsoft Vista ToolTip style.
- Click OK to close the C1SuperTooltip Editor.