# QuickStart
This quickstart helps you to create a simple and quick WinForms app using Map.
## Content
This quick start guide familiarizes you with some of the features of **Map** control. In this section, you will learn to create a new WinForms application in Visual Studio, add the **Map** control, add vector data to it and run the application.
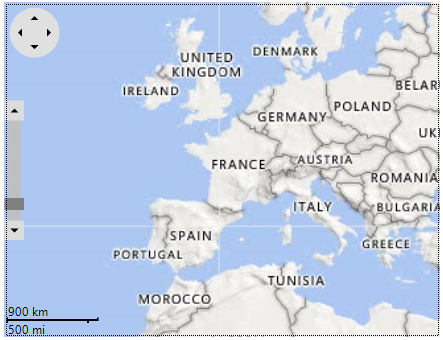
Complete the steps given below to see how the Map control appears after data binding and setting the properties.
### Create an Application with Map Control
1. Create a new Windows Forms Application.
2. Add C1.Win.Map assembly package using Manage NuGet Packages option.
3. Add the **Map** control to the form in your application from Toolbox.
4. Set the **Dock** property of **Map** control to **Fill**.
### Add Vector Data to Map
1. Add the following namespaces in code view:
```csharp
using C1.FlexMap;
using C1.Win.Map;
```
2. Use the following code to display map in the **Map** control and add vector layer to it:
```csharp
//set the source property
c1Map1.TileLayer.TileSource = new VirtualEarthRoadSource();
//create a vector layer and add it to the map
C1.Win.Map.VectorLayer layer = new C1.Win.Map.VectorLayer();
c1Map1.Layers.Add(layer);
```
> type=note
> **Note**: Maps for WinForms also support Bing Rest Api. To use the Api you need to pass Bing Maps key to VirtualEarthSource constructor, as shown below:
>
> ```
> c1Map1.TileLayer.TileSource = new VirtualEarthHybridSource("Bing_maps_key");
> ```
3. Add a vector placemark element to the layer using VectorPlacemark class and customize the element using the following code:
```csharp
//Create a vector placemark and add it to the layer
C1.Win.Map.VectorPlacemark vpl = new C1.Win.Map.VectorPlacemark();
layer.Items.Add(vpl);
//customize the vector placemark
vpl.Style.BackColor = Color.Aqua;
vpl.Marker.Shape = MarkerShape.Diamond;
vpl.Marker.Size = new SizeF(10, 10);
//set the geometry shape for vector placemark
vpl.Geometry = new GeoPoint(75, 25);
```
You can add any other vector elements such as, **VectorPolyline** and/or **VectorPolygon** to the map according to your requirements.
### Run the Application
Press **F5** to run the application and observe how the **Map** control appears with the placemark vector added to it.
In addition to adding placemarks, you can add various types of [vector data](/componentone/docs/win/online-maps/layers) on a map. Map also allows you to add markers on a map, customize them, and add image as markers as well, and add legends. For more information on further information, see [Markers](/componentone/docs/win/online-maps/markers).