# Quick Start
## Content
This quick start demonstrates how to create a WinForms application, add the DateRangeEdit control, and configure date range selection.
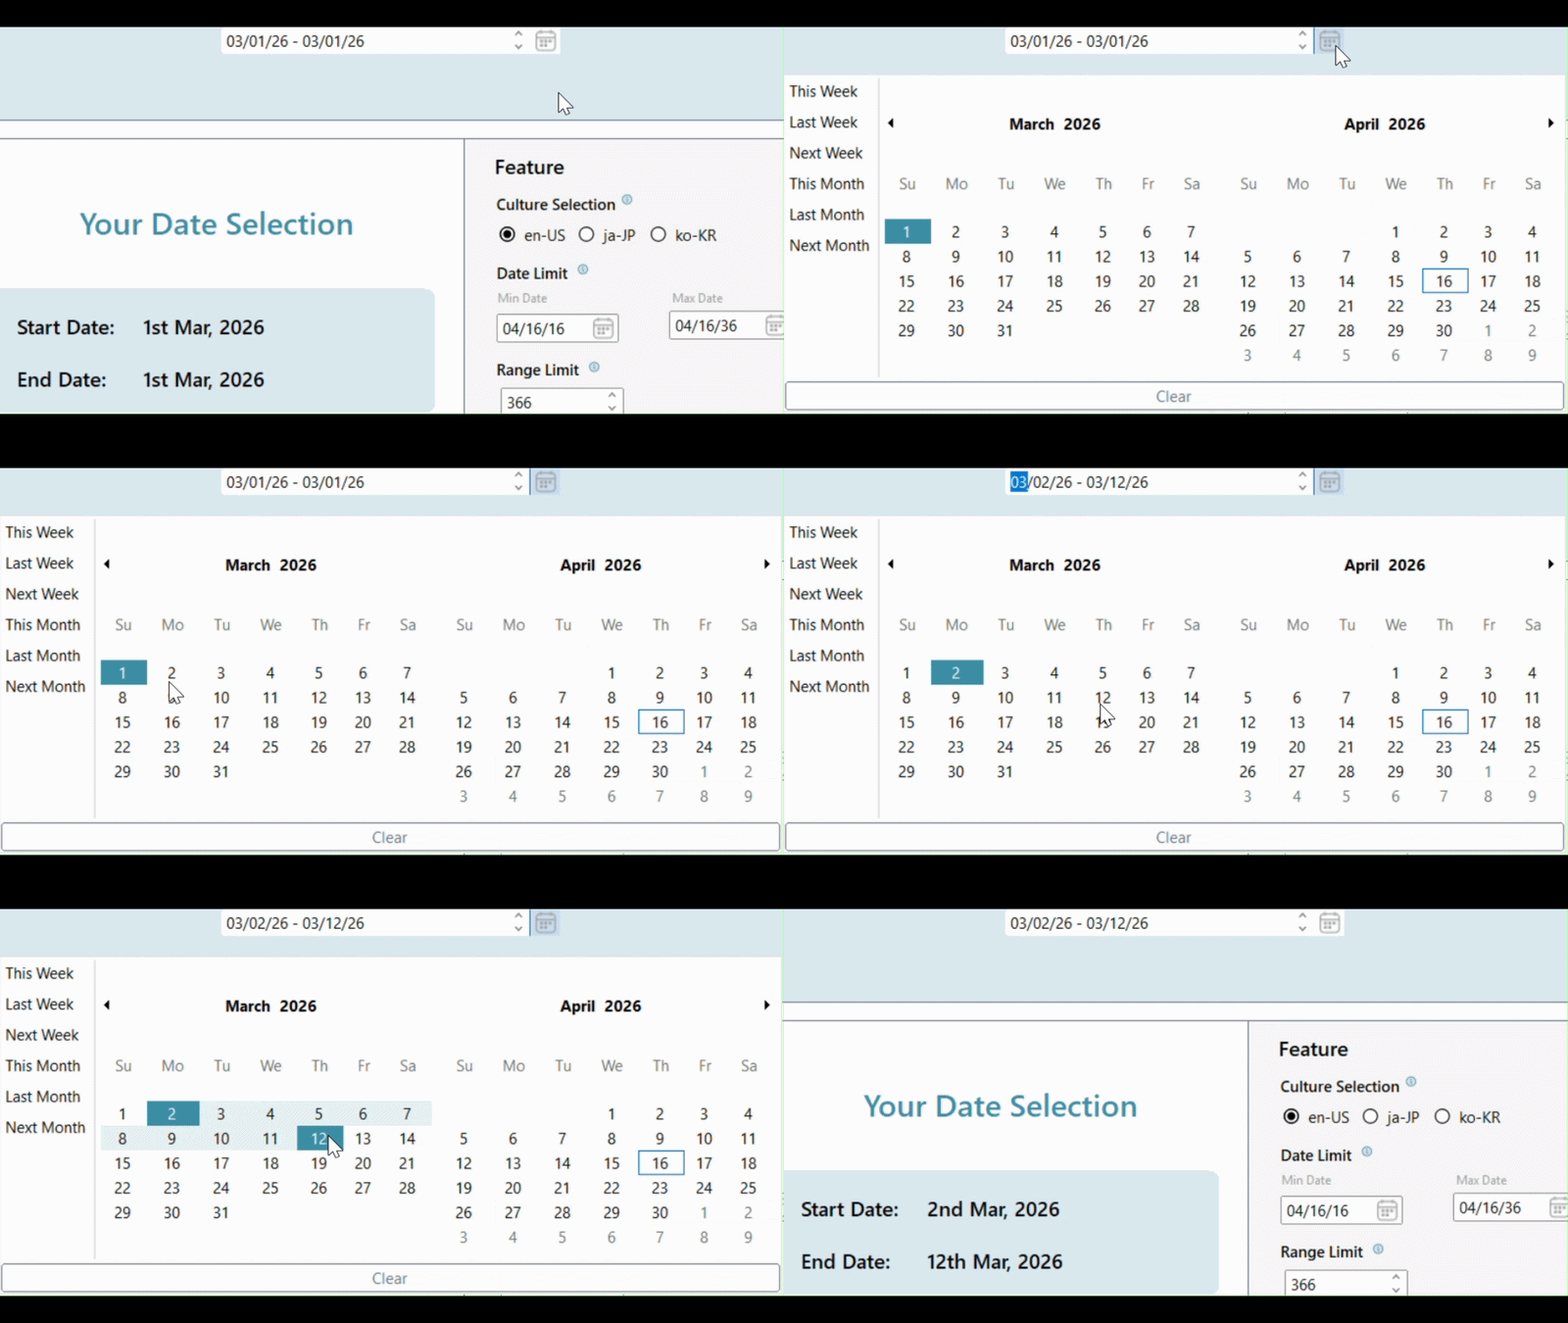
### Add the DateRangeEdit Control
1. Create a Windows Forms application in Visual Studio.
2. Add the following assemblies to the project:
* C1.Win.Calendar
* C1.Win.Input
* C1.Win
3. Drag the DateRangeEdit control from the Toolbox onto the form.
4. Set the control name to `dateRangeEdit`, or initialize the control in code:
```auto
C1DateRangeEdit dateRangeEdit = new C1DateRangeEdit();
```
### Configure the Control
#### Set the Control Size and Location
```auto
/ Set DateRangeEdit size and location
dateRangeEdit.Size = new System.Drawing.Size(180, 21);
dateRangeEdit.Location = new System.Drawing.Point(330, 126);
```
#### Set Minimum and Maximum Selectable Dates
```auto
// Set minimum and maximum date range
dateRangeEdit.MinValue = new DateTime(2024, 01, 01);
dateRangeEdit.MaxValue = new DateTime(2024, 01, 31);
```
#### Enable Predefined Ranges
```auto
dateRangeEdit.CalendarRangeSettings.ShowPredefinedRanges = true;
```
#### Limit the Selection Range
```auto
dateRangeEdit.Calendar.MaxSelectionCount = 7;
```
### Build and Run the Project
1. Select **Build > Build Solution**.
2. Press **F5** to run the application.