# Visual Studio Integration
## Content
DataConnectors can be integrated with Visual Studio to enable easy connections through Server Explorer to online data sources (such as Salesforce, Dynamics 365 Sales, OData, Kintone etc.) without writing any code, just dropping tables on a dataset in the designer and connecting to data-aware controls (like grids, charts and report designers such as Crystal Reports).
To get DataConnectors automatically integrated with Visual Studio, all it is needed is the latest versions of ComponentOne Control Panel and Data Services. Once the DataConnectors are integrated in Visual Studio, creating a database connection becomes easy with the following steps:
1. Open a WinForms App in **Visual Studio** and select **Server Explorer** from the **View** menu.
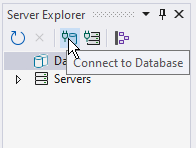
2. In **Server Explorer**, select **Data Connections** and click the **Connect to Database** icon, as shown in the screenshot below:
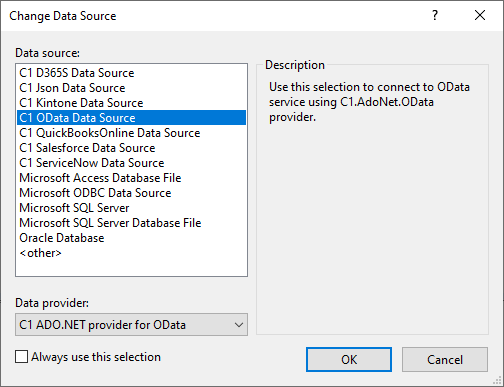
3. In the **Choose Data Source** dialog, select one of the available data sources (and an ADO.NET data provider for it) and click **OK** (in the screenshot below, **C1 OData Data Source** is selected):
> type=note
> **Note**: Depending on how it is configured, the provider might ask for **credentials**, which should be provided.
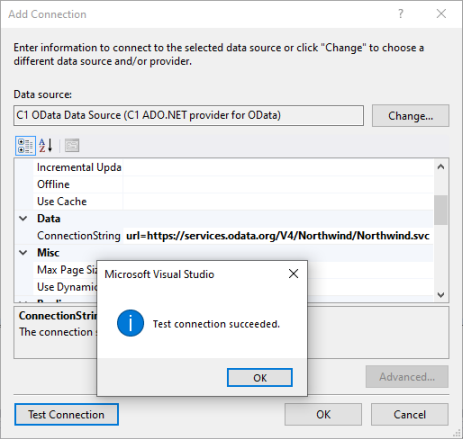
4. In the **Add Connection** dialog, scroll to the **ConnectionString** property (categorized under **Data**), enter the connection string, click **Test Connection** and observe that the connection is successful, as shown in the screenshot below:
> type=note
> **Note**: The connection string should be without **cache settings**. If caching is desired, it should be set by code or in the configuration file.
5. Close the success message and then also click **OK**. The connected database should be ready for creating new data sources, appearing like in the screenshot below:
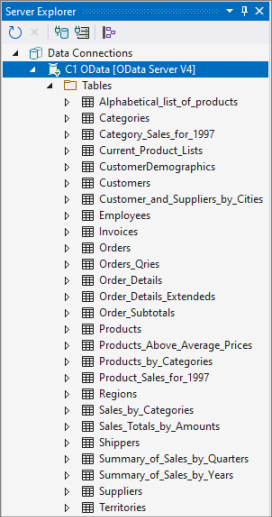
6. In the design view, drag and drop DataGridView control on the Form.
7. Select the DataGridView control and click the smart tag to open the **C1DataGridView Tasks** menu.
8. Click the **Choose Data Source** drop down button and select **Add Project Data Source...** option to open the **Data Source Configuration Wizard**:
1. In page **Choose a Data Source Type**,
select **Database**,
then click **Next**.
2. In page **Choose a Database Model**,
select **Dataset**,
then click **Next**.
3. In page **Choose Your Data Connection**,
ensure that the data connection is already set to **C1 OData [OData Sever V4\]**,
then click **Next**.
4. Check the **Yes, save the connection as** check box, to save the connection string in the application configuration file,
then click **Next**.
5. In page **Choose Your Database Objects**,
select a table (e.g. **Customers**) from the **Tables** node,
then click **Finish**.
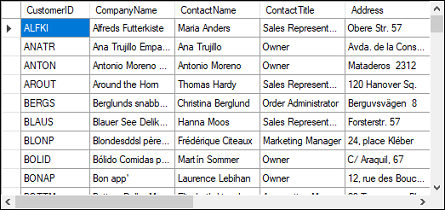
The above steps add a dataset and bind the DataGridView control to the selected table of the data source, like in the following screenshot: