# Integration to React Application
This topic explains how you can embed the JSViewer component in your React application (ASP.NET Core).
## Content
This page explains how you can embed the Js Viewer component in your React application (ASP.NET Core). To run the React Application Server, you will require the [node.js](https://nodejs.org/en) JavaScript runtime.
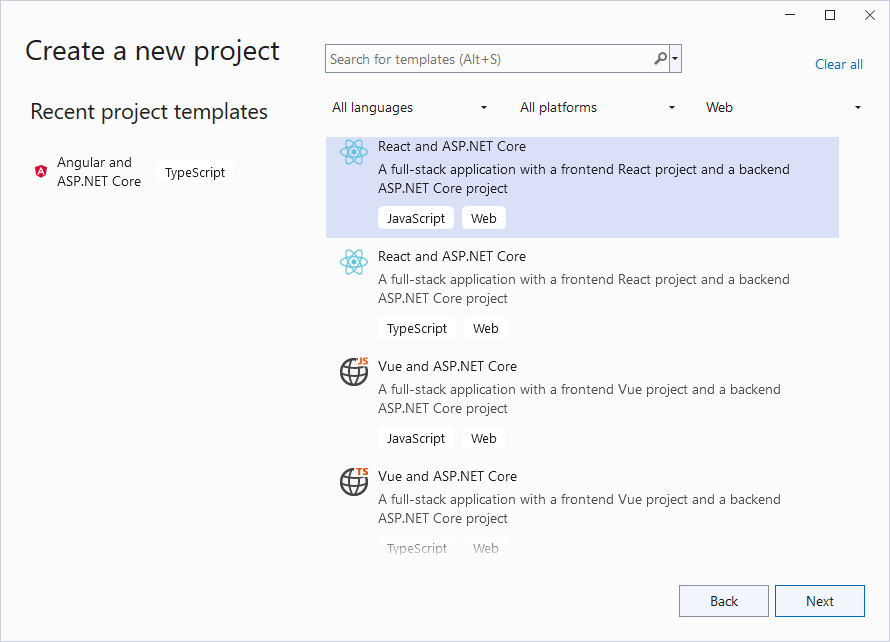
1. Open **Microsoft Visual Studio 2022** and create a new **React and** **ASP.NET Core** project.
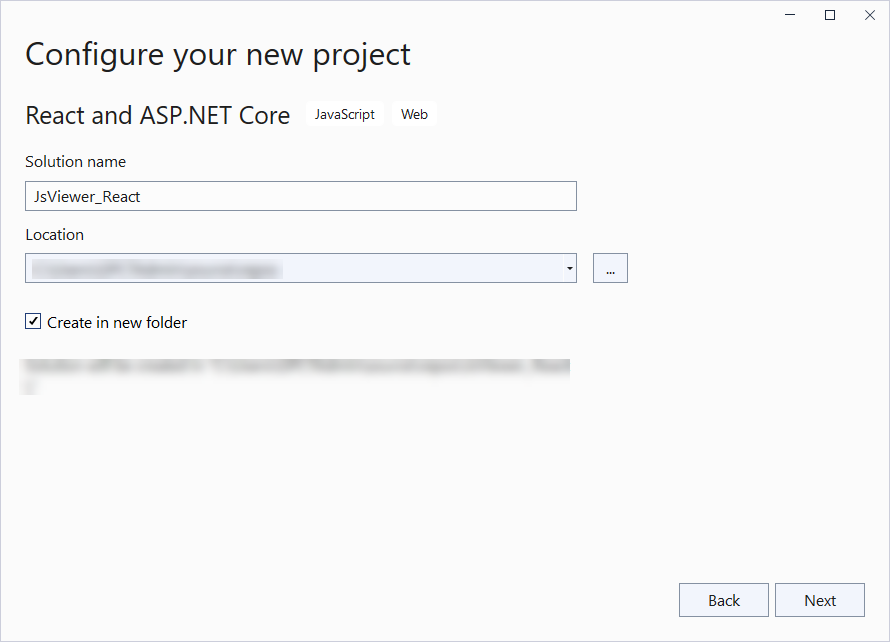
2. Type a name for your project and click **Next**.
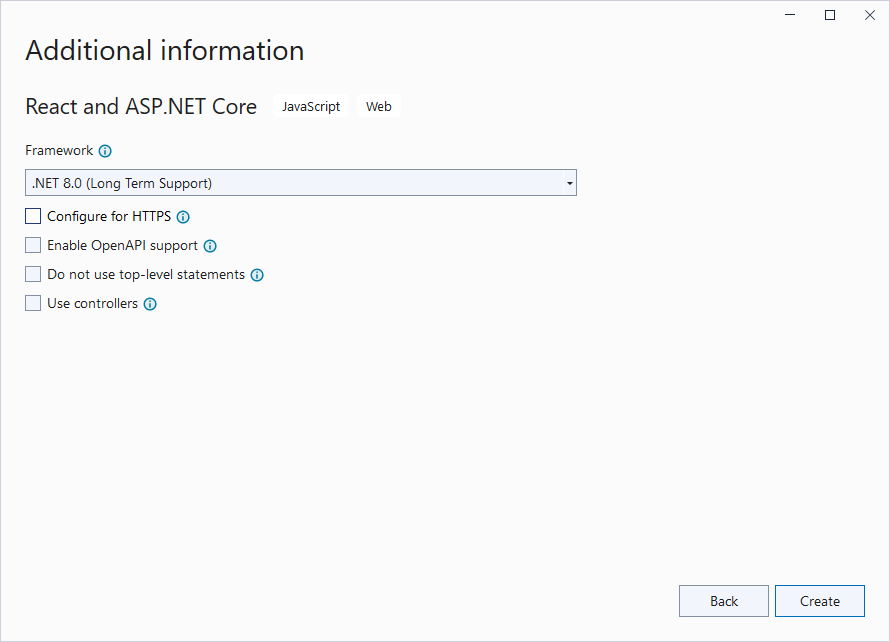
3. Select the **Framework** to a latest version and uncheck other options.
4. Right-click the project in the **Solution Explorer** and select **Manage NuGet Packages**.
5. Add the following package to the project.
```
MESCIUS.ActiveReports.Aspnetcore.Viewer
```
6. Create 'resources' folder in your sample project root; you can put your existing reports, themes, and images in this folder.
7. Make sure to set the **Build** Action property of the resources to 'Embedded Resource'.
8. Open 'Program.cs' file and update the file to include the 'using' statements at the top, and specify the resource folder, and add services to container, so that the complete file looks like below.
```csharp
using GrapeCity.ActiveReports.Aspnetcore.Viewer;
var builder = WebApplication.CreateBuilder(args);
// Add services to the container.
builder.Services.AddReportViewer();
builder.Services.AddControllers();
var app = builder.Build();
var ResourcesRootDirectory =
new DirectoryInfo(Path.Combine(Directory.GetCurrentDirectory(), "resources"));
app.UseReportViewer(config => config.UseFileStore(ResourcesRootDirectory));
app.UseDefaultFiles();
app.UseStaticFiles();
// Configure the HTTP request pipeline.
app.UseHttpsRedirection();
app.UseAuthorization();
app.MapControllers();
app.MapFallbackToFile("/index.html");
app.Run();
```
9. In the '.client' project, open 'package.json' file and add the following package under 'dependencies':
```
"@mescius/activereportsnet-viewer": "^18.x.x"
```
10. Open the '.client' project in the command prompt or terminal window and run the following command to install the npm packages.
```
npm install
```
The viewer files/folders will be downloaded in your current directory: .\\node\_modules\\@mescius\\activereportsnet-viewer\\dist.
11. Open 'App.css' to update the 'root' selector, and add style for the 'viewer-host' element as follows.
```css
#root {
height: 100%;
width: 100%;
}
tr:nth-child(even) {
background: #F2F2F2;
}
tr:nth-child(odd) {
background: #FFF;
}
th, td {
padding-left: 1rem;
padding-right: 1rem;
}
.viewer-host {
height: 100vh;
width: 100%;
}
```
12. Open 'App.jsx' file and replace the existing code with the following code.
```javascript
import { useEffect } from 'react';
import './App.css';
import { createViewer } from '@mescius/activereportsnet-viewer';
import "@mescius/activereportsnet-viewer/dist/jsViewer.min.css";
function App() {
useEffect(() => {
const viewer = createViewer({
element: '#viewer-host',
reportID: "DemoReport.rdlx"
});
return () => {
viewer.destroy();
};
}, []);
return (
);
}
export default App;
```
13. Open 'vite.config.js' file and update the 'proxy' setting as follows.
```javascript
proxy: {
'/api':{
target: 'http://localhost:5267',
secure: false
}
}
```
14. Open 'main.jsx' file and remove import React from 'react' statement if using React 17 or higher, and the outer statements and to disable strict mode. The final main.jsx is as shown.
```javascript
import ReactDOM from 'react-dom/client'
import App from './App.jsx'
import './index.css'
ReactDOM.createRoot(document.getElementById('root')).render(
)
```
15. Build the application and then press **F5** to run it.
## See Also
[Js Viewer ASP.NET Core Middleware](/activereportsnet/docs/v19.2/developers/create-applications/web-viewer-and-web-designer-middlewares/jsvieweraspnet-middleware)