# OverflowPlaceholder Control for Columnar Reports
This tutorial explains how to use multiple Overflow Placeholders to create the report layout with multiple columns.
## Content
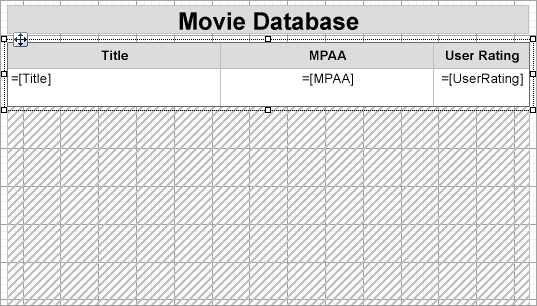
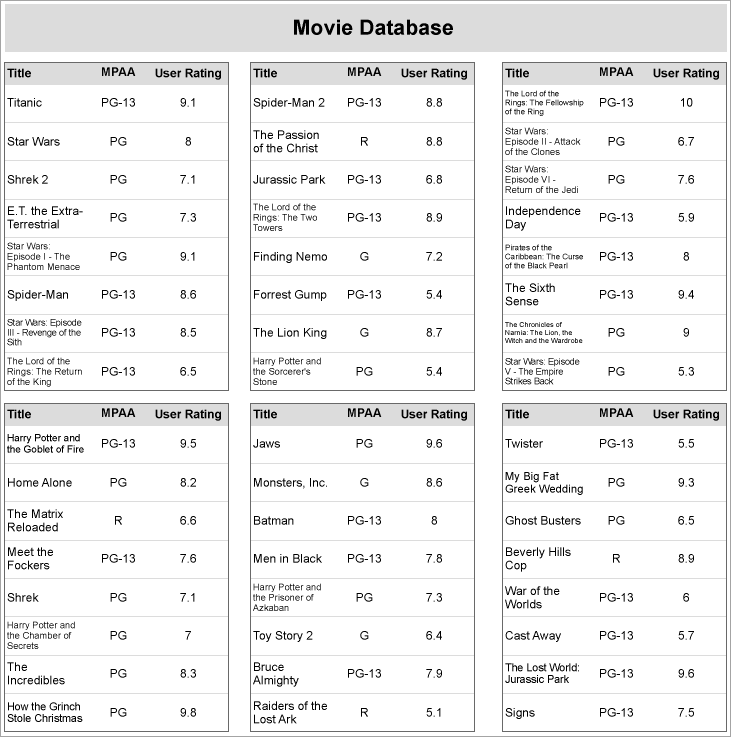
Let us create a report as shown below that uses the OverflowPlaceHolder control to create a columnar report. The report connects to the 'Movie' table from 'Reels.db' data source on [GitHub](https://github.com/activereports/Samples19/tree/main/Data/).
> 
>
> 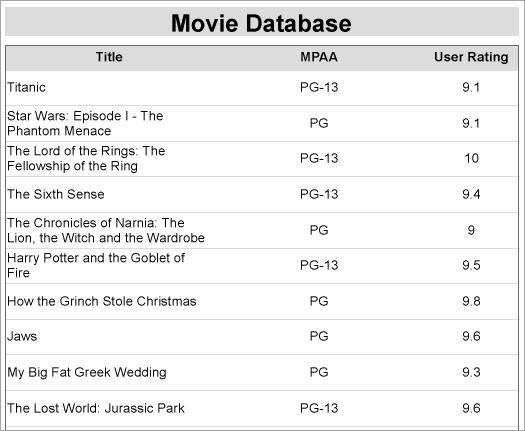
We will use multiple Overflow Placeholders to create the report layout with multiple columns. We will link the Table data region to an Overflow Placeholder control, followed by linking one Overflow Placeholder control to another to make data flow in case the data does not fit into these placeholders.
### Create Report
In the ActiveReports Designer, create a new Page report.
> type=note
> If you are creating a new report in the Visual Studio Integrated Designer, see [Quick Start](/activereportsnet/docs/report-authors/standalone-designer-app/create-multi-section-rdl).
### Bind Report to Data
As you create a new report, you can configure the report data connection in the Report Wizard. You can also access the **Report Data Source** dialog by right-clicking the Data Sources node in the Report Explorer and then selecting the **Add Data Source** option. See [SQLite](/activereportsnet/docs/report-authors/data-binding/data-binding-page-rdl-reports/connect-to-a-data-source/sqlite) for details.
1. On the **Choose Data Source Type** screen of the wizard, select **SQLite** and click **Next.**
2. To specify the **DataBase Path**, click the **Browse** button and navigate to the desired file on your system. For example, you can connect to the Reels.db sample data source which can be downloaded from [GitHub](https://github.com/activereports/Samples19/tree/main/Data/).
3. Click **Test Connection** to test the connection.
4. Then click the **Next** option and configure the dataset by adding a valid query.
```sql
SELECT * FROM Movie
```
5. Click **Finish** to successfully add the report with the SQLite data source.
### Design Report Layout
1. On the Page1 of the report, drag-drop a **Table** data region.
2. In the cells of the details row, drag-drop the [Title\], [MPAA\], and the [UserRating\] fields. Our table now displays the 'Movie' details – Title, MPAA, and User Rating fields.
### Link the Table data region to an Overflow Placeholder
1. Select the Table data region and from the Properties window, set the following properties to some values, e.g.
* **Location** = 0in,1in
(we want the table to appear on the left side and make space for other Overflow Placeholder controls)
* **RepeatHeaderOnNewPage** = True
(for the table header to repeat on each page as well as inside the Overflow Placeholder)
* **Size** = 3.2in, 0.6in
* **FixedSize** = 3.2in, 3.5in
* **OverflowName** = OverFlowPlaceHolder1 (you can set this property only after you add the OverflowPlaceHolder1 to the design surface, see **step 2**)
### Link an Overflow Placeholder to another Overflow Placeholder
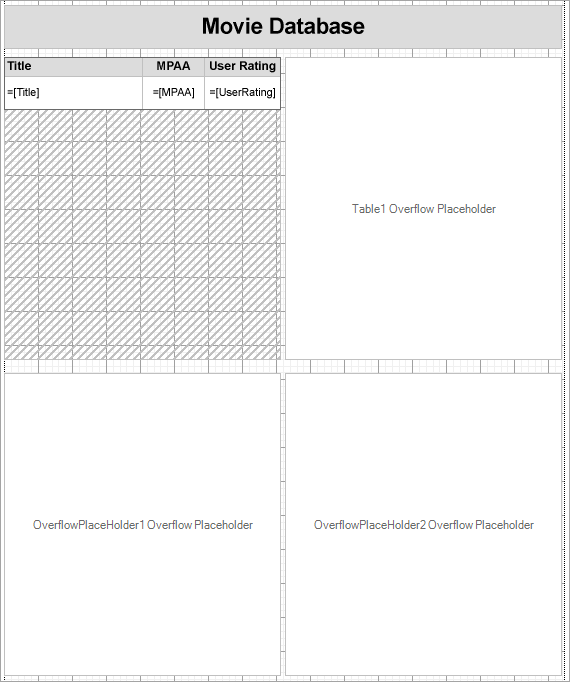
2. Drag and drop the **OverflowPlaceHolder1** control onto the design surface on the right side of the table and from the Properties window, set its properties as follows.
* **Location** = 3.25in, 1in
* **Size** = 3.2in, 3.5in (same as FixedSize of the table)
* **OverflowName** = OverFlowPlaceHolder2 (you can set this property only after you add the OverflowPlaceHolder2 to the design surface, see **step 3**).
3. Drag and drop the **OverflowPlaceHolder2** control onto the design surface and, in the Properties window, set its properties as follows.
* **Location** = 0in, 4.65in
* **Size** = 3.2in, 3.5in
* **OverflowName** = OverFlowPlaceHolder3 (you can set this property only after you add the OverflowPlaceHolder3 to the design surface, see **step 4**).
4. Drag and drop the **OverflowPlaceHolder3** control onto the design surface and, in the Properties window, set its properties as follows.
* **Location** = 3.25in, 4.65in
* **Size** = 3.2in, 3.5in
The final report in the design view will look similar to this.
5. Preview the report. Observe how the report data is arranged.
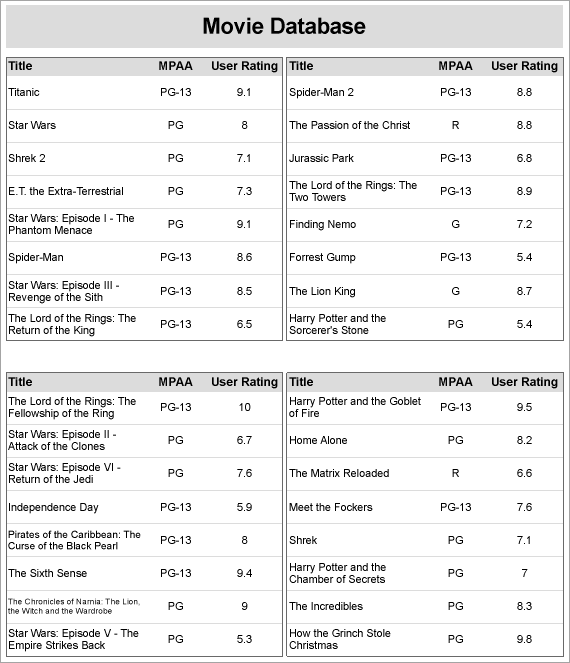
Similarly, you can add more Overflow Placeholders to create layout as shown:
> type=info
> **Tip**: Depending on your layout requirements, you can place the OverflowPlaceHolder control on the same page tab as the data region or a different page tab.
## See Also
[Overflow Placeholder (Page report only)](/activereportsnet/docs/report-authors/report-controls/report-controls-page-rdl-report/overflowplaceholder)