# Web AI Assistant Setup
## Content
## Introduction
In this tutorial, we will guide you through the process of building an ASP.NET Core Application that uses the ActiveReports.NET Web Report Designer with the enabled [AI Assistant feature](/activereportsnet/docs/report-authors/webdesigner/ai-assistant). By the end of this tutorial, you will have learned how to:
* Create an ASP.NET Core application in Visual Studio
* Install the ActiveReports.NET NuGet packages
* Incorporate the ActiveReports.NET client-side libraries
* Configure the Report Designer and AI Assistant ASP.NET middleware
* Add and configure the Web Report Designer on the index page
## Prerequisites
Before diving into this tutorial, please ensure the following requirements are met:
* **ActiveReports.NET** installed on your machine. If you have not installed ActiveReports.NET yet, see the [installation guide](/activereportsnet/docs/devops/install-activereports) for detailed instructions.
* **.NET SDK**: .NET 8.0 SDK or later.
* **Node.js**: a current LTS version of Node.js (includes npm), used to install and serve the client-side designer.
* **Visual Studio**: Visual Studio 2022 or later with the with the `ASP.NET and web development` workload installed.
* **An AI provider account**: depending on the provider you choose, you need one of the following:
* An OpenAI API key
* An Azure OpenAI resource with a deployment name, endpoint URL, and API key
* A Google AI Studio API key for Gemini
* A local Ollama installation with a model pulled (e.g. `ollama pull llama3.2`)
* **Basic Knowledge of C#, JavaScript, and Visual Studio**: Familiarity with C# programming, plain JavaScript, and navigating Visual Studio is assumed. If you need a refresher, the [Microsoft C# Guide](https://learn.microsoft.com/en-us/dotnet/csharp/) and [Visual Studio Documentation](https://learn.microsoft.com/en-us/visualstudio) are excellent resources.
## Creating a New Project
To start, launch Visual Studio (this tutorial is based on Visual Studio 2022, but the steps are similar in other versions). Follow these steps to create your new ASP.NET Core Application:
1. Select the `Create a new project` option from the Visual Studio startup window.
2. In the list of project templates, find and select `ASP.NET Core Web App (Razor Pages)`. Click the `Next` button to continue.
3. In the `Configure your new project` dialog, provide a name for your project in the `Project name` field, choose a suitable location for your project files, and click `Next`.
4. The `Additional Information` dialog will ask you to select a target framework. For the best compatibility with ActiveReports.NET, select `.NET 8.0` or newer. Please ensure that the `Authentication` is set to `None` and the `Configure for HTTPS` is unchecked. Click the `Create` button to finalize the project setup.
After completing these steps, Visual Studio will generate a new ASP.NET Core application project.
## Adding ActiveReports.NET client-side libraries
The ActiveReports.NET Web Designer is a client-side component that interacts with the server-side. Let's include the required client-side libraries into the application:
1. In Solution Explorer, right-click your project and select `Add Client-Side Library`.
2. In the `Add Client-Side Library` dialog, select `unpkg` provider and type `@mescius/activereportsnet-designer@latest` in the `Library` text input.
3. Click the `Install` button.
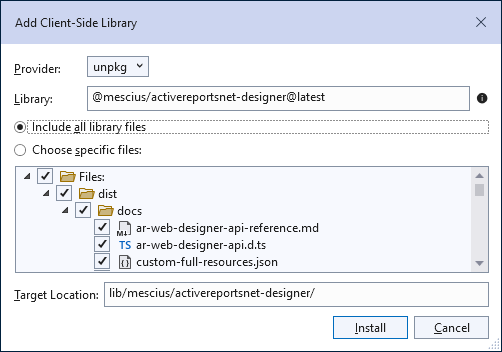
Visual Studio will download and copy the content of the package into the `wwwroot\lib` folder.
## Installing ActiveReports Nuget Packages
To establish the server-side functionality that is required for the Web Report Designer with the AI Assistance enabled, the following NuGet packages must be added to your project:
* `MESCIUS.ActiveReports.Aspnetcore.Designer`
* `MESCIUS.ActiveReports.AI.Web`
* Depending on the AI provider you use:
* Azure Open AI: `MESCIUS.ActiveReports.Design.AI.AzureOpenAI`
* Open AI: `MESCIUS.ActiveReports.Design.AI.OpenAI`
* Google Gemini:`MESCIUS.ActiveReports.Design.AI.Google`
* Ollama: `MESCIUS.ActiveReports.Design.AI.Ollama`
Follow these steps to install these packages:
1. In Solution Explorer, right-click your project and select `Manage NuGet Packages`.
2. Go to the `Browse` tab and search for `MESCIUS.ActiveReports.Aspnetcore.Designer`. Make sure you select the correct package, paying attention to the exact spelling.
3. Click the package in the search results and then click `Install` on the right-hand side of the window.
4. Accept the license terms for the installed packages in the `License Acceptance` dialog.
5. Repear steps 2-4 for the rest of the required packages.
## Adding a Sample Report
For convenience, we will use the pre-configured report that includes the data. Follow these steps:
1. In Solution Explorer, right-click the project , select `Add/New Folder` and set the name of the newly added folder to `Reports`.
2. Right-click the `Reports` folder and select the `Add...New Item` menu.
3. In the `Add New Item` dialog, select the `ActiveReports XX Standalone Report`, where `XX` is the version installed on your machine, and click the `Add button`.
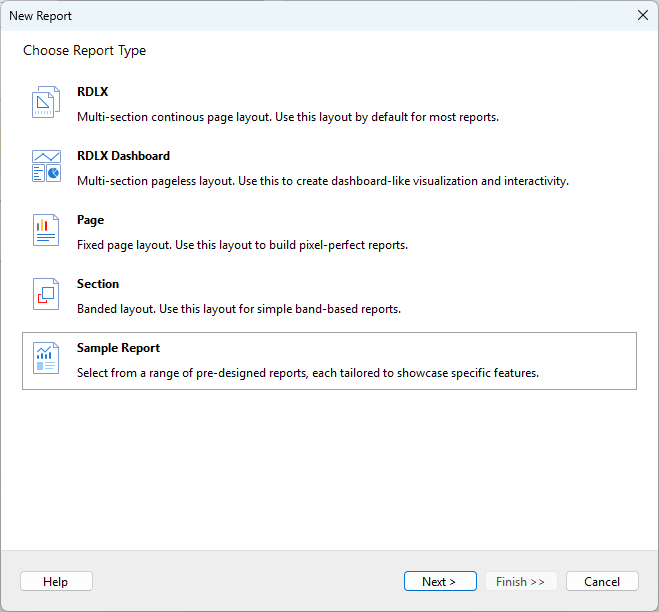
4. In the `Report Wizard`, select the `Sample Report` option and click `Next`. This option offers a selection of pre-configured reports.
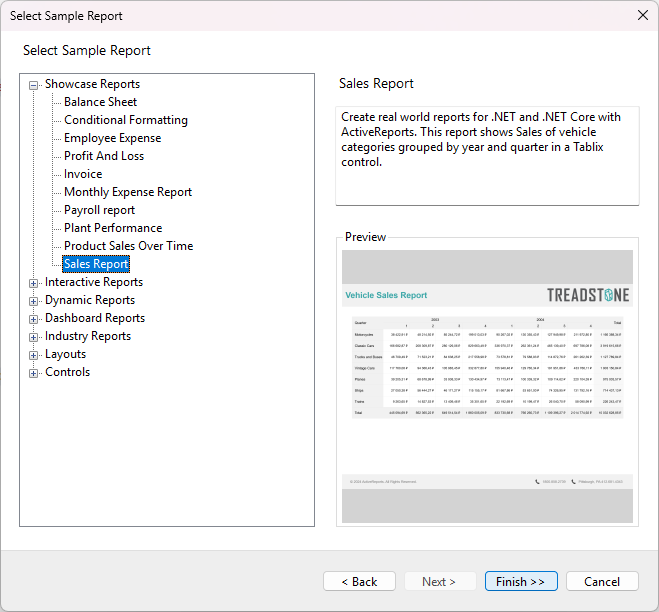
5. From the `Select Sample Report` dialog, select the `Sales Report` and click the `Finish >>` button:
## Configuring the Report Designer and AI Assistance middleware
The report designer communicates with the server-side via the ASP.NET middleware that could be configured using the following steps.
1. Open the `Program.cs` file, which is located in the application's root folder.
2. Insert the following statements at the beginning of the file:
```CSharp
using GrapeCity.ActiveReports.Aspnetcore.Designer;
using GrapeCity.ActiveReports.Web.Designer;
using GrapeCity.ActiveReports.Design.AI.Google.Extensions; // if you use Google Gemini
using GrapeCity.ActiveReports.Design.AI.OpenAI.Extensions; // if you use OpenAI
using GrapeCity.ActiveReports.Design.AI.AzureOpenAI.Extensions; // if you use Azure OpenAI
using GrapeCity.ActiveReports.Design.AI.Ollama.Extensions; // if you use Ollama
```
3. Before calling `builder.Build()`, add the code to register the AI provider . Use the code block below that matches the package you installed.
**Option A — OpenAI**
```csharp
builder.Services.AddOpenAI(config =>
{
config.ApiKey = "sk-..."; // your OpenAI API key
config.Model = "gpt-4o"; // OpenAI model ID
config.Timeout = 300 * 1000; // milliseconds
});
```
**Option B — Azure OpenAI**
```csharp
builder.Services.AddAzureOpenAI(config =>
{
config.Endpoint = "https://my-resource.openai.azure.com/";
config.DeploymentName = "my-gpt4o-deployment";
config.Model = "gpt-4o";
config.ApiKey = "...";
config.Timeout = 300 * 1000; // milliseconds
});
```
**Option C — Google Gemini**
```csharp
builder.Services.AddGemini(config =>
{
config.ApiKey = "AIza...";
config.Model = "gemini-2.0-flash";
config.Timeout = 300 * 1000; // milliseconds
});
```
**Option D — Ollama (local)**
```csharp
builder.Services.AddOllama(config =>
{
config.Endpoint = "http://localhost:11434";
config.Model = "llama3.2";
config.Timeout = 300 * 1000; // milliseconds
});
```
4. Insert the following code before the `app.UseStaticFiles();` line:
```csharp
var reportsDir = new DirectoryInfo(Path.Combine(app.Environment.ContentRootPath, "Reports"));
app.UseReportDesigner(config =>
{
config.UseFileStore(reportsDir, null, FileStoreOptions.NestedFoldersLookup);
});
app.UseAIReporting();
```
## Initializing the report designer on the client-side
Open the `Pages\Index.cshtml` file and replace its contents with the following code.
```html
@page
@{
Layout = null;
}
ActiveReports Web Designer
```
## Running the Project
With both the server-side and client-side configured, it's time to see the result of your work.
1. To build your project, go to the `Build` menu in Visual Studio and select `Build Solution`. This compiles your project and prepares it for running.
2. Once the build is successful, on the `Debug` menu, select `Start Debugging` or `Start Without Debugging` to start the application.
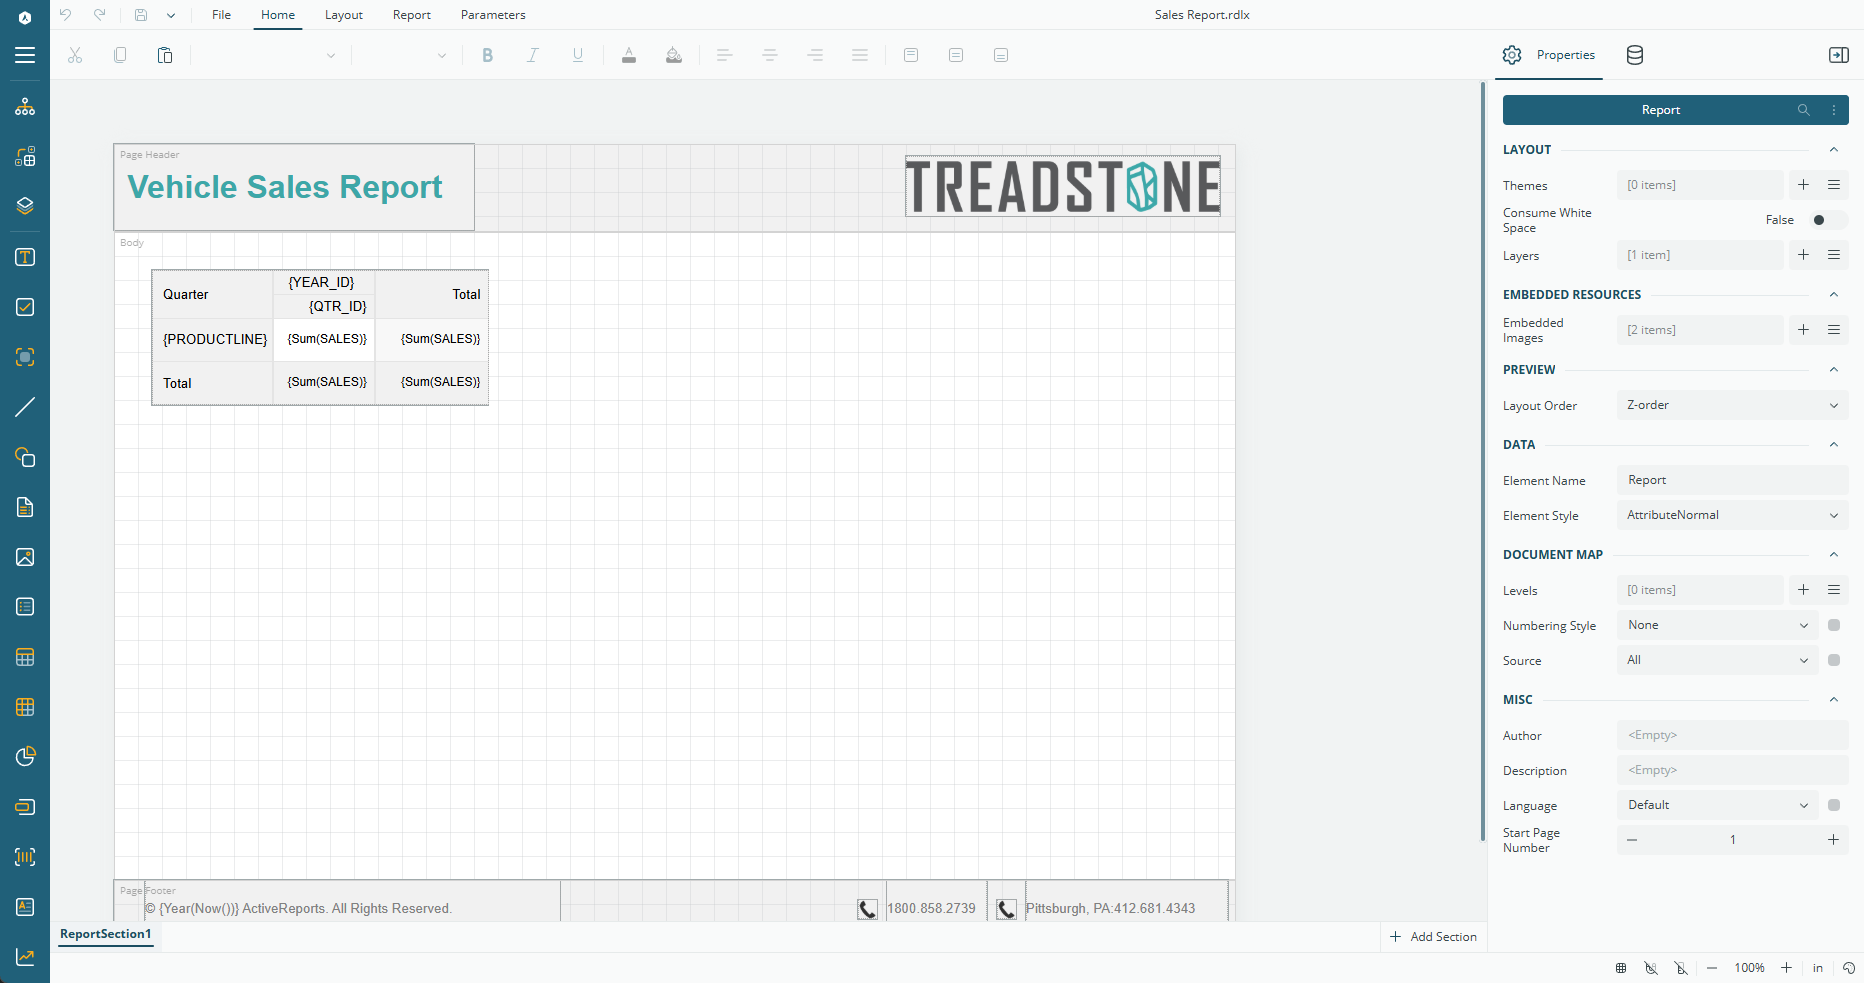
The Web Report Designer opens in your default browser and displays the `Sales Report`:
## Using AI Assistance
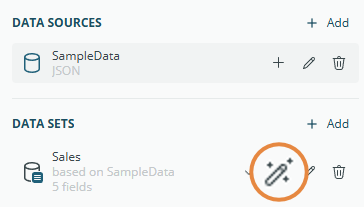
1. In the `Property Panel` , open the `Data` tab. Then, in the `Sales` Data Set, click the `Explore` button:
2. If the AI provider was configured correctly, then after some time, the designer will shows the suggested visualizations:
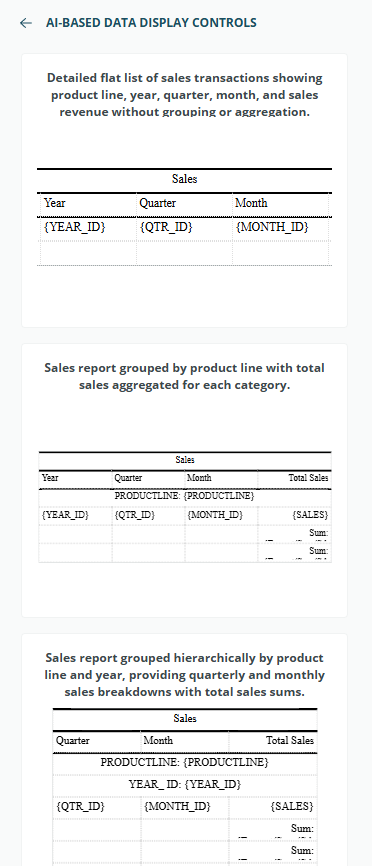
3. You can click a suggestion card to add to a report.